

October - “Fall”ing for Compost
Julie Henrichs, Dakota County Master Gardener
Composting - an important word and process we want to teach our children, but how do we do this in a fun and educational way? Composting is a natural way of recycling so let’s invite the children in our life to not only continue recycling the paper, cans and acceptable plastic items, but also begin learning about and “recycling” the natural items we see all around into a rich compost we can use to make our plants grow. What an incredible way to teach children to care for our environment! Let’s get started on creating a child’s very own compost container, which then can be turned into a bigger composting container in the future.

Composting - an important word and process we want to teach our children, but how do we do this in a fun and educational way? Composting is a natural way of recycling so let’s invite the children in our life to not only continue recycling the paper, cans and acceptable plastic items, but also begin learning about and “recycling” the natural items we see all around into a rich compost we can use to make our plants grow. What an incredible way to teach children to care for our environment! Let’s get started on creating a child’s very own compost container, which then can be turned into a bigger composting container in the future.
Supplies Needed:
Large Plastic Water/Pop Bottle or Comparable Container
Utility Knife, Push Pin/Tack or Small Nail
Small Dish or Tray to set Bottle into
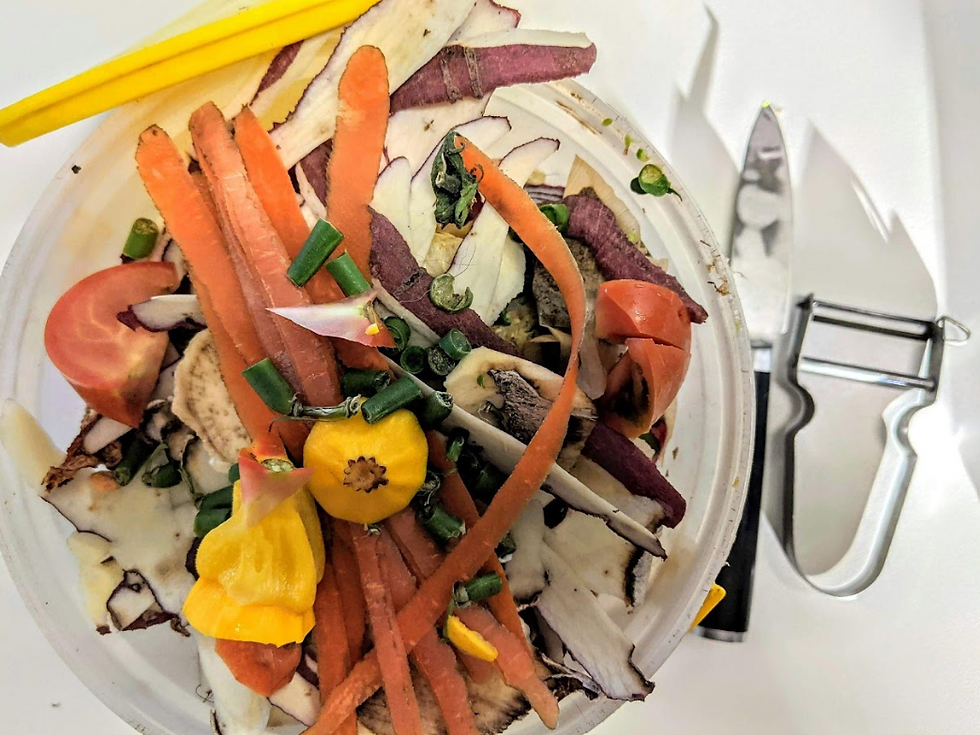
Greens (ex. vegetable and/or fruit food scraps, non-fertilized grass clippings)
Browns (ex. sticks, leaves, sawdust, pine needles, clean cardboard)
Spray Bottle with Water
Long dowel, long handled Spoon or Narrow Trowel
Sunny spot - on shelf, counter, windowsill
Patience
Composting is a natural way of helping the environment using our home and garden waste to create compost that can be used in our gardens and plantings. By placing waste items together (greens & browns) and allowing them to break down or decompose we help to cut down on the food and yard waste scraps we throw away on a day-to-day basis. Composting also provides wonderful benefits as a gardener as a way of natural recycling…turning items we typically would throw away and turning them into usable soil for our future plants. Starting small and educating our “Little Sprouts” about the importance of the how-to’s of composting and letting them create their own compost container benefits us all.

If using a large plastic water/pop container, please have an adult cut the top of the bottle off just as it begins to round downward. Next, if age appropriate, allow your “Little Sprout” to use the pin/tack to push through the bottom of the bottle/container to make a few small holes. If the plastic is too thick or the child is too small, please have the adult place holes in the bottom of the container. A small dish or tray will catch any moisture that escapes from the bottom.
What about the browns and greens? Composting is like cooking with a recipe. Just like when baking cookies, various ingredients are needed and the same is true with creating a successful compost. To create a successful compost both greens and browns are needed in addition to water and the natural process of decomposition.
“Greens” are simply the moist ingredient that provides nitrogen and moisture that helps things grow. Greens include fruit and vegetable scraps, fresh grass clippings, coffee and tea grounds and eggshells. Yes - “Greens” don’t necessarily need to be green.
“Browns” are the items we add to the compost that provide air pockets in the pile, increase bulk and are full of carbon. The brown items include dry leaves, cardboard and plain paper (no shiny paper, tape or printing on cardboard), non-died wood chips, twigs, sticks, sawdust and pine needles. Again, all materials don’t necessarily need to be brown, but for the most part browns are brown.
What not to use in my home compost: dairy, fish, meat and fats should be avoided.
Next is the real fun…layering the browns and greens (In a larger compost bin the ratio of browns to greens is 2-1, but in our small compost bin just try your best.). The container used does not have to be filled to the top in that composting is about adding layers as you go and as you produce green and brown compostable items.
In the container place brown materials first. Spray the layer lightly with water and then proceed with a green layer followed by another brown layer. Spray a light mist and place another green layer followed by brown. Repeat until you have filled your compost bin to the top or have decided to stop. Don’t forget to mist the brown layer each time.
Once you have reached the level of compost in the container, place it in a sunny location. As the elements added decompose with the help of good bacteria and fungi, you will begin to see the actual breakdown of the elements involved. But your “Little Sprouts” job is not done. The compost needs to be turned so take a small dowel, trowel or spoon and turn the compost. Turning the compost can take place every 2-3 days. The slow process of decomposing takes time so be patient. It can take months for the greens and browns to turn into the perfect compost, but it is worth the wait. When the product being created is a dark color, falls apart and smells like soil, then your compost is ready. Remember, greens and browns can continually be added to the container so keep it up. Overtime, wonderful compost will be created and can be used in your garden or around your flowers. Happy Fall Composting!

Photo credit: pexels.com (1,2,3)