Poinsettias are native to Mexico and Central America. The part we think of as the flower are actually a special leaf called a bract; the real flower is in the middle with the yellow part. The ASPCA lists it as poisonous to cats, but of course, ours won’t be!
For the project you will need:
2 sheets of red paper
1 sheet of a darker or lighter red color
1 sheet of green paper
A bit of yellow paper
Scissors
Glue
Light weight cardboard such as a cereal box
Pen
Glitter (optional)

First you will need to cut out two paper templates, one smaller than the other, and then cut out the cardboard templates. If your sprout is older, you can make the bracts fancier.

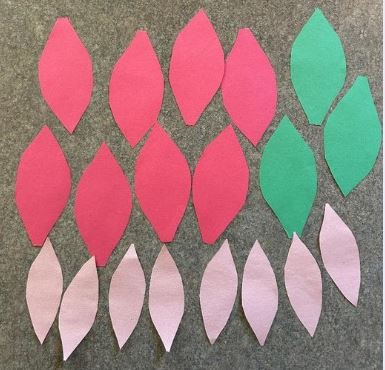
Once you have the templates, your Sprout can trace them on the paper. They will need 8 red, and three green shapes of the larger bracts, and 8 shapes of the smaller contrasting color.
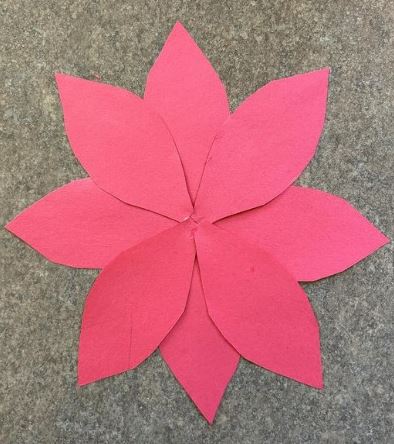
Glue four of the larger bracts together, then layer four more at right angles to the first.
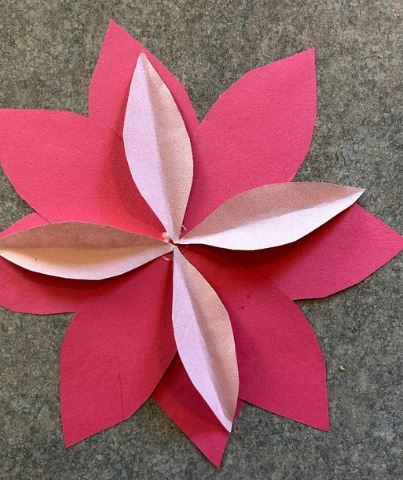
Fold the smaller bracts in half lengthwise, don’t make the crease sharp. Older Sprouts can also fold the larger bracts. It’s a little harder to glue when you do this. They can experiment with having the folds be upside down relative to the smaller bracts.

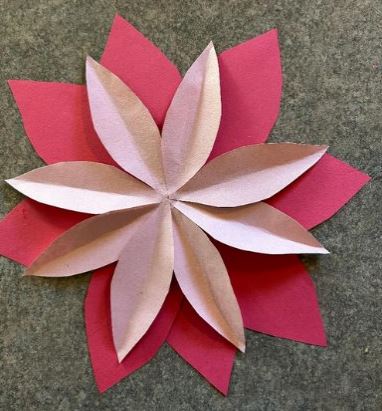
Glue in the same manner as the larger bracts. Add a little extra glue to hold the smaller bracts to the larger.
Glue the three green bracts behind the large bracts, cut out and glue 3 small circles of the yellow paper to the center of the poinsettia and you’re done!

Happy Holidays!
Photo Credit: Marjorie Blare (1-11)


